Overview
The Cycloud product installer automates several steps required for Cycloud provisioning to work within an Azure tenant. From the user / installers perspective the process is extremely simple, and wizard driven requiring the installer to answer several simple questions to complete the installation.
There are several technical pre-requisites that are required prior to beginning the installation and this document will explain these requirements in detail.
It is strongly advised that the required information is at hand prior to beginning the installation to prevent any confusion that can terminate the installation. Again, this document will highlight the required information and where it can be obtained.
An important point is that to install the Cycloud Product an existing tenant can be used, or a new tenant can be created. This link explains how to create a tenant if required.
Information Required
Azure administrative user account credentials including username, password, Azure subscription ID and Azure tenant ID. Your subscription ID and tenant ID can be found from within the Azure Admin Console. This article may be of assistance.
The user installing the Cycloud Product will also need information regarding the Microsoft file share that is to be used for the Cycloud Data Store. This is simply the UNC path to the share location. This could be an existing file share (with the appropriate permissions etc) or a file share created using the process explained later in this guide. In either case the Microsoft Share information is simply the file share name in UNC format.
Example: <\\ServerName\ShareName>
Installation Process and Flow
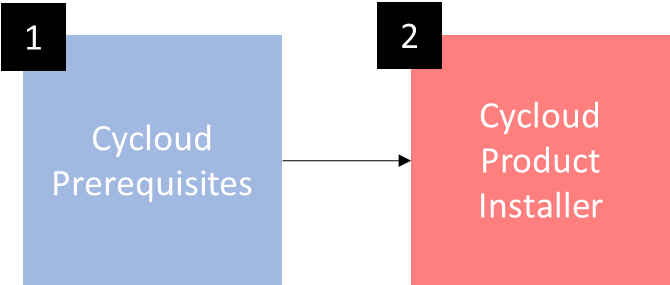
The following diagram shows the full Cycloud installation process. For the rest of this document, we will be focusing on the Cycloud Product Installer.

The two steps completed during the Cycloud Product installation process are the setup of all required Cycloud objects within Azure along with the setup of the Cycloud Data Store file structure.
In order for Cycloud services to operate correctly the Product Installer creates necessary Azure objects. The objects created include a “Registered App”, “Service Principal Account”, “Role Assignment” and “Custom Role” along with associated Cycloud specific custom permissions.
Cycloud Product Installation Order
There are a number of steps involved in installing the Cycloud Product software outlined in the following diagram.
Let us look at each of these steps in detail.
Step 1
Installing required prerequisites is essential prior to running the Cycloud Product Installer. The Cycloud unified installer installs the software prerequisites however it is crucial that all infrastructure prerequisites are also in place. More information can be found here.
Step 2
Running the Cycloud Product Installer
The Cycloud Product Installer can be run on any machine that has had the prerequisites explained in step 1 and running a supported Microsoft Windows operating system. Supported operating systems are as follows.
- Windows Server 2016 (All Editions)
- Windows Server 2019 (All Editions)
- Windows Server 2022 (All Editions)
- Windows 10 (All Versions)
- Windows 11 (All Versions)
It is assumed that the machine used to run the Cycloud Product Installer will be an Azure instance. Azure marketplace images are supported at this time even though there is no foreseen reasons why custom images could not be used or even physical machines.
The Cycloud Product Installer will not install any components on the machine it is run on. This is because the Cycloud Product Installer purely sets up the required Azure objects within Azure as well as the Cycloud Datastore. Therefore there is no uninstall process as there are no items to uninstall on the machine itself.
To begin the Cycloud Product installation process follow the steps below.
- Download the Cycloud product software from the Cycloud download page. Unzip it and save it to a location on the machine that has been selected to run the Cycloud Product Installer.
- The Cycloud Product Installer can be run from the Cycloud unified installer (Recommended) or separately by following the rest of this guide but the process is exactly the same from accepting the Cycloud EULA.
- Go to the Cycloud Product Setup directory and locate the “Cycloud-Product-Install.exe” file. Double clicking on this file will automatically run the Cycloud Product Installer as Administrator.
- Read and accept the Cycloud EULA
- Enter the path to the Cycloud Data Store in UNC format. (Help bubbles are provided if required)
- Select the cloud platform from the dropdown box. (Microsoft Azure is supported at this time).
- If this is the first time the Cycloud Product Installer has been run it is essential that the “Register Cycloud App” checkbox is selected. This is required to register Cycloud with Azure. If the checkbox is not selected then the installer will setup the Cycloud Datastore only and is useful when Cycloud has already been registered with Azure.
- Accept the message that informs the user that a new directory structure will be created. If the installer finds an existing directory structure a backup will be made of it before a new directory structure is created.
- Enter your Azure subscription ID and Azure tenant ID.
- You will be asked to authenticate to Azure using the Microsoft form. Please enter your Azure login credentials along with any two factor details (if enabled). The Azure user needs to have global administrative which ensured the permissions to create the following Azure objects.
- Azure App Registration
- Azure Role Assignments
- Azure Custom Roles
- Azure Service Principal Accounts
- After a few moments the Cycloud Product Installer will inform the user that Cycloud Services were successfully registered with Azure. It is at this point the Cycloud Product Installer has completed the Cycloud App registration process.
The following screenshots are of the above process.
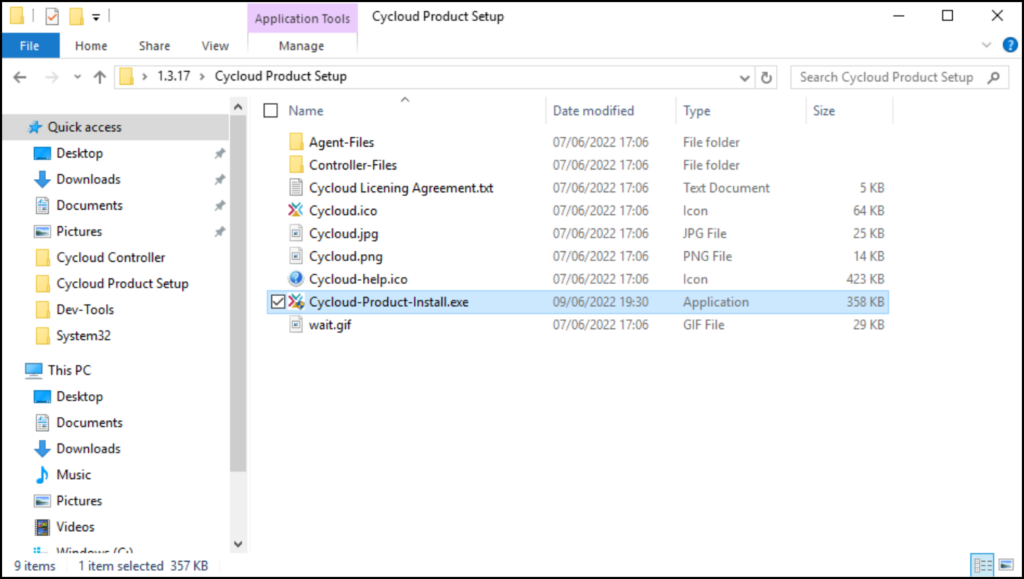
Browse to the Cycloud-Share-Installer.exe file and run it
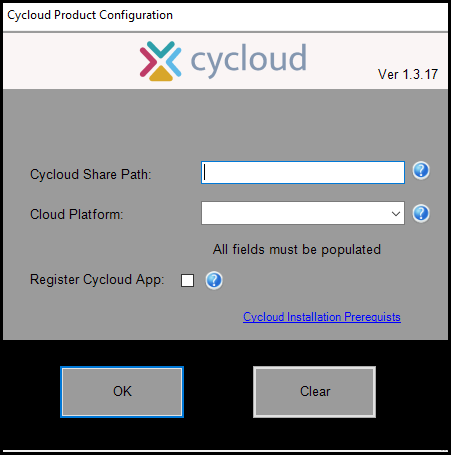
Provide the Cycloud Datastore path in UNC format and select the cloud platform from the dropdown box.
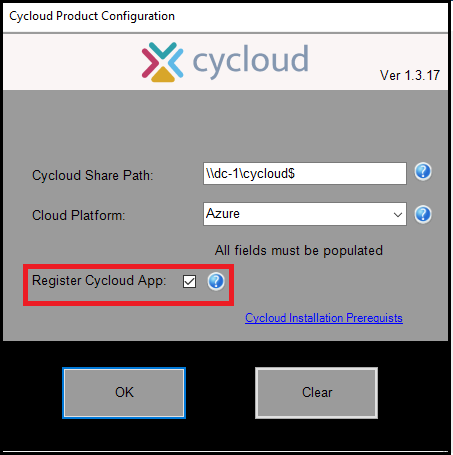
If the Cycloud Product Installer is being run for the first time it is necessary to ensure that the “Register Cycloud App” checkbox is selected.
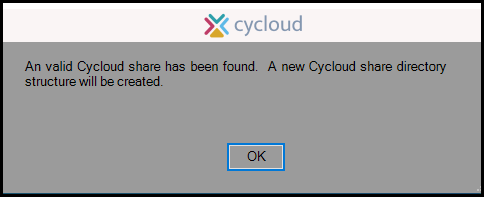
If the UNC path entered previously is correct and a valid share path is found the above message will be displayed.
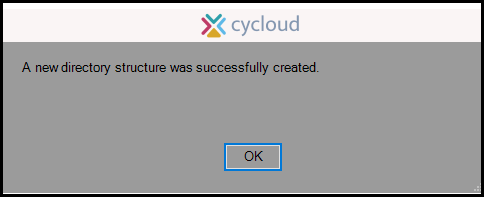
A new Cycloud directory structure will then be created.
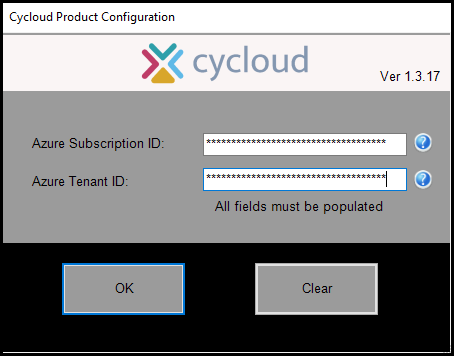
The user will then need to provide their Azure Subscription ID and their Azure Tenant ID.

The user will then need to provide their Azure login credentials (as well as two factor details if enabled) to authenticated to Azure.
As the process may take a few moment a wait screen will be displayed until the various Cycloud component are fully installed.
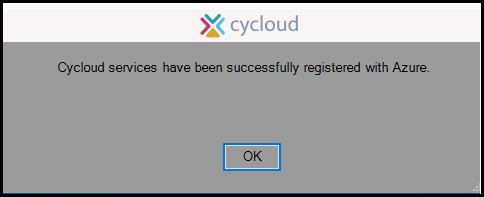
The last message shown by the Cycloud Product Installer is when it has completed the creation of all Azure objects. At this point the Cycloud Project Installer has completed all its task and the Cycloud software is registered with Azure and considered complete.
The following screenshots show the various objects after the Product Installer has successfully created them. The user installing the Cycloud Product may wish to look at the various object after installation to confirm their presence although this is not a required step in the installation process.
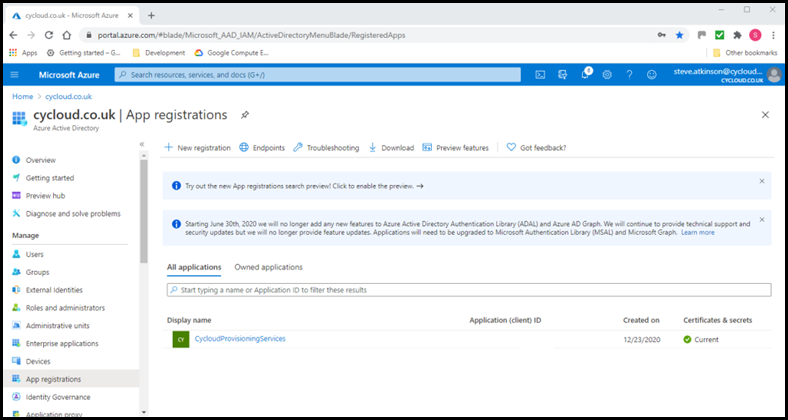
The Cycloud Product Installer creates an App Registration that can be found within Azure Active Directory. Simply open “Azure Active Directory” within the Azure management portal and navigate to “App Registrations” which can be found in the left pane of the interface. Once at this point select “All Application” option and browse to the application called “CycloudProvisioningServices”. This is the app that the Cycloud installer registered.
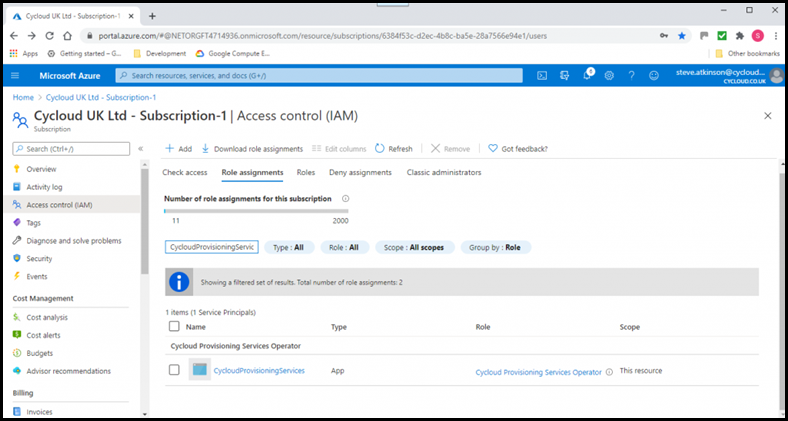
The Cycloud Product Installer also creates a custom “Role Assignment” called “CycloudProvisioningServices” that can be found by opening “Subscriptions” from the Azure management portal and selecting the appropriate Azure subscription. After that select “Access Control (IAM)” from the centre pane and then “Role Assignments”. If the “CycloudProvisioningServices” role assignment does not appear it may be necessary to search for it using the “Search by name or email” field.
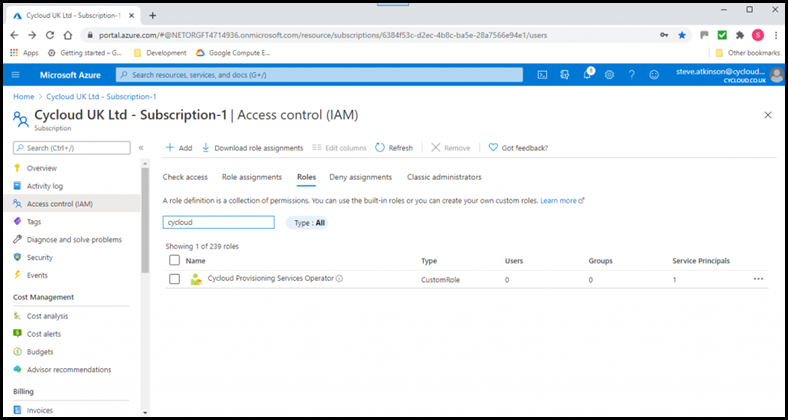
The last item the Cycloud Product Installer creates is a custom “Role” called “CycloudProvisioningServices”. This object can be found by opening “Subscriptions” from the Azure management portal and selecting the appropriate Azure subscription. After that select “Access Control (IAM)” from the centre pane and then “Roles”. If the “CycloudProvisioningServices” role does not appear it may be necessary to search for it using the “Search by name or email” field.
Potential Issues and Clarification Information
If any issues are encountered during the installation of the Cycloud Product Installation a log file (Install.log) of the installation can be found in the directory where the “Cycloud-Share-Installer.exe” file was run.
It is suggested that if clarification of each stage of the Cycloud Product Installation is required the following points maybe helpful.
After installation of the Cycloud Product has completed the Cycloud Azure objects would have been created. These can be found using the Azure Management Portal as described in the preceding sections.
As part of the installation the file structure of the Cycloud Data Store would have been created. This should look like the following screenshot.
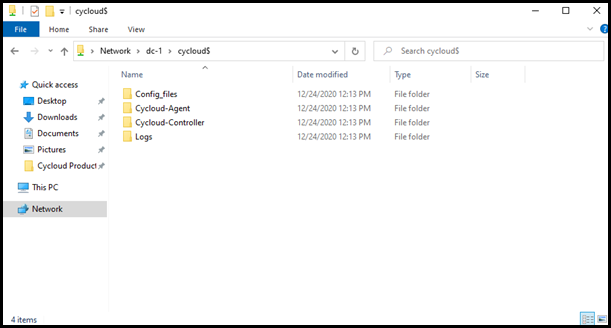
There should be four directories off the root of the share. There will be various subdirectors within these directories each having significance to the operational running of the Cycloud solution however if the four top level directories are seen then it is assured that the file structure was created successfully and the Cycloud Data Store is operational.
As long as this document is followed correctly then there are seldom any issues experienced with the Cycloud Product Installation process. The actual installation process takes just a few minutes to complete but attention to detail at this point will yield better results than if not.